How to Export Data to CSV
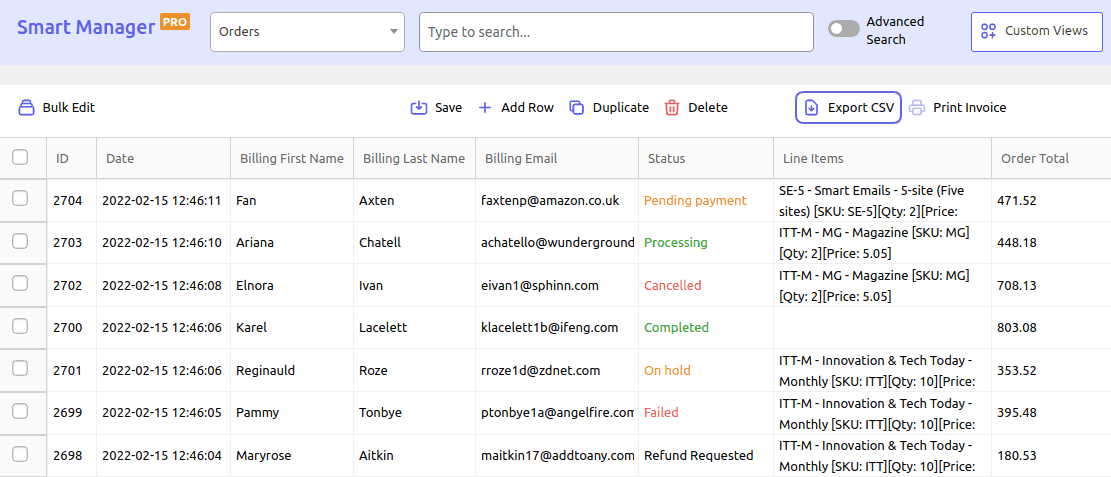
Smart Manager’s Export feature extends beyond WooCommerce Products and their variations. It also allows you to export CSV files for orders, as well as any other post type, custom taxonomy, or user records you may have.
Watch the video below to see how to export to CSV based on filters
Steps to export data to CSV file

- Go to the Smart Manager dashboard. From the navigation bar at the top, select a dashboard from the drop-down menu (e.g., Products).
- Select the records you wish to export.
- Hover over the ‘Export CSV’ button located in the top bar above the grid. You’ll encounter the below options tailored as per the dashboard
- Selected Records – Visible Columns: Export selected records, including the columns that are currently visible.
- Entire Store – Visible Columns: Export the entire store’s dataset, including the columns that are currently visible.
- All Items In Search Results – Visible Columns: Export all data from the search results, incorporating the columns currently visible. This option is available when you have records filtered using Simple Search or Advanced Search functionality.
- Furthermore, for the WooCommerce Products dashboard, you have additional options:
- Selected Records – Stock Columns: Export selected records along with relevant stock-related columns.
- Entire Store – Stock Columns: Export the entire store’s dataset along with stock-related columns.
- All Items In Search Results – Stock Columns: Export all data from the search results, including stock-related columns. This option is available when you have records filtered using Simple Search or Advanced Search functionality.
- Now, for a filtered export, enable-disable columns, enter search conditions, and then make an export.
That’s it. Follow the above steps to export CSV data of other post types.
You can also schedule CSV exports, a feature currently available only for WooCommerce Orders. Click here to learn more.
Notes:
- Export CSV will only include columns that are currently enabled in the grid.
- WooCommerce Products dashboard specific export options are available in Smart Manager Lite too.